2. In the upper-right-corner, click your profile picture
3. In the dropdown, select “your repositories”
4. Again in the upper-left corner, choose the green button “new” , add whatever you want to add, like .gitinore files, README.md files, and LICENSE files, we will talk about it in later classes
5. And you are done! You can do whatever you want to do in github!
Now, the recommended type comes
Creating a both remote AND local repository
1. Follow ALL the steps in “Create a only-remote repository” section
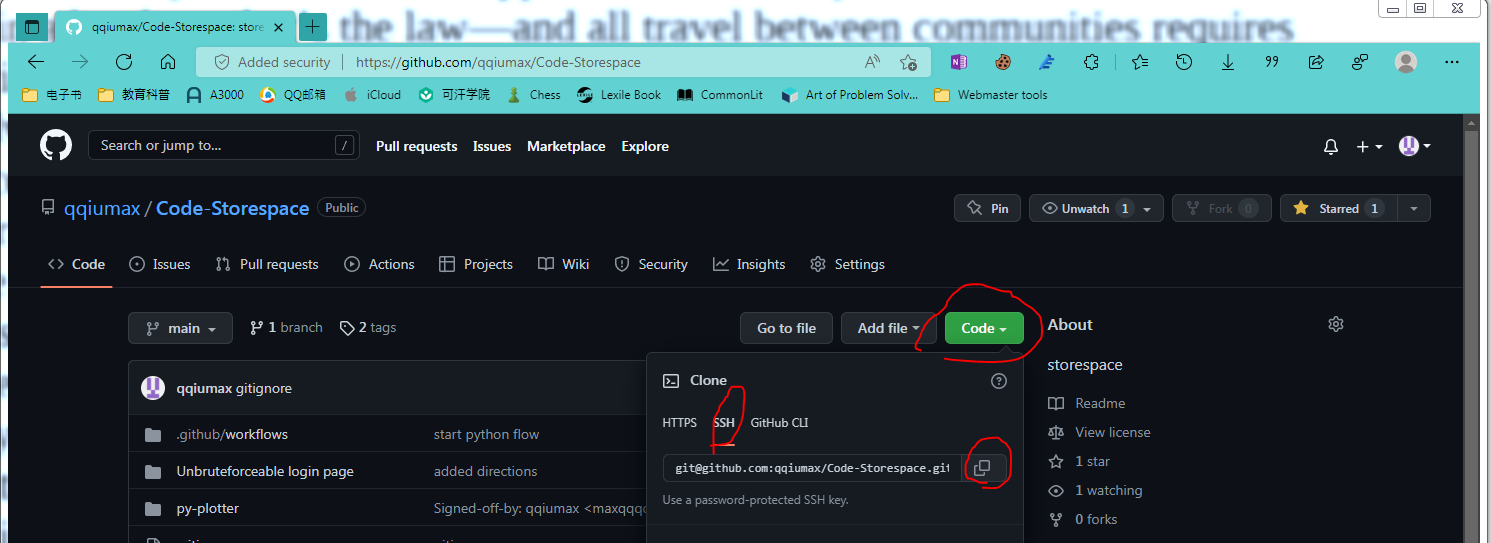
2. Navigate to your repository, in the upper-left, green button called “code”, in the dropdown, select SSH. Click the “copy” logo, and keep it.
3. In a folder you like you keep your git repositories, left click and open git bash,and type git clone thing_you_just_copied_here
You will see a .git file and everything you have created in the github step!
And you are all done! Get ready for the next class to work with git!